Table of Contents
1. Mbm Engine
MBM is a given name to a graphics engine which provides basic and essential resources to develop games or graphics applications 2D or 3D.
For now, is possible to develop games for Windows , Linux , Android , iOS , and macOS .
The intention is to provide the minimum necessary for game development or graphics application using minimal dependencies.
The engine is written in C++11 language using OpenGL-ES / Metal / DirectX 9 on its core and LUA as a scripting language.
Note
Although there is an effort to migrate the whole project to C++11 still there is a lot of mixed C code and maybe is not the best project to be as an example!
1.1. Another Game Engine!

Yes I know!
This is a personal project that I have been working for a long time (~ 2004).
It started as a way to understand C++, DirectX, 2D, 3D, geometry etc (at the time). How games in general works.
Then, I have learned more about game programming and, in the beginning, it was used the concept of framework a lot, which later, became a game engine embeding LUA script.
Of course, I had (and still have) to do a lot of improvement/refactoring and also make new features as well! (You might find some comments or variable names in portuguese BR since at the time I used to program in my on language ¯\_(ツ)_/¯)
But life is the greatest teacher and I have decided to go ahead and make new features, improvements or refactoring according to the demands.
It means that when some work in as a new game requires some feature or improvements it is implemented.
So, if you want to use it, go ahead and occasionally new features or improvements will come (¬‿¬).
1.2. Which version should I get?
I occasionally tag versions however it is generally safe and recommended to sync to the master.
The library is fairly stable for 2D applications and issues tend to be fixed as fast as reported/faced.
1.3. Looking for binary?
Here the latest binaries for Windows.
Here the latest binaries for Android.
For Linux you must compile by yourself.
For MacOs you must compile by yourself.
For iOS you must compile by yourself.
1.4. Main Libraries And Status
Library |
Version |
Windows |
Linux |
Android |
macOS |
iOS |
Required |
Status |
|---|---|---|---|---|---|---|---|---|
2.0 |
YES |
YES |
YES |
NO |
NO |
YES |
Complete |
|
9.0 |
YES |
NO |
NO |
NO |
NO |
Windows |
Complete |
|
NO |
NO |
NO |
YES |
YES |
macOS/iOS |
Complete |
||
5.4.1 |
YES |
YES |
YES |
YES |
YES |
NO |
Complete |
|
20151024 |
YES |
YES |
YES |
YES |
YES |
YES |
Complete |
|
2.4.1 |
YES |
YES |
YES |
YES |
YES |
NO |
Stable |
|
1.1.0
2.3.0
|
YES |
YES |
YES |
YES |
YES * |
NO |
Stable |
|
2.84 |
YES |
YES |
YES |
YES |
YES |
NO |
in Progress |
|
0.9.5 |
YES |
YES |
YES |
YES |
YES |
NO |
Complete |
|
3.24 |
YES |
YES |
YES |
YES |
YES |
NO |
Complete |
|
3.0.9 |
YES |
YES |
YES |
YES |
YES |
NO |
Complete |
|
19 |
YES |
YES |
NO |
NO |
NO |
Win / Linux |
Complete |
|
NO |
NO |
NO |
YES |
YES |
macOS/iOS |
Complete |
||
NO |
NO |
YES |
NO |
NO |
Android |
Complete |
||
1.0 |
YES |
NO |
NO |
NO |
NO |
Windows |
Complete |
|
1.11 |
YES |
YES |
YES |
YES |
YES |
YES |
Complete |
|
1.16 |
YES |
YES |
YES |
YES |
YES |
YES |
Complete |
|
1.92.6 |
YES |
YES |
NO |
YES |
YES |
NO |
Stable |
|
Audio |
|
|
|
|
|
NO |
Complete |
Note
On iOS,
box2dandbox2d-liquid-funcannot be used together. Pass-DUSE_BOX2D=0 -DUSE_BOX2D_LIQUID_FUN=1explicitly to use Liquidfun on iOS.
- OpenGL ES
OpenGL ES is a royalty-free, cross-platform API for rendering advanced 2D and 3D graphics on embedded and mobile systems - including consoles, phones, appliances and vehicles. It consists of a well-defined subset of desktop OpenGL suitable for low-power devices, and provides a flexible and powerful interface between software and graphics acceleration hardware. Used on Windows, Linux, and Android.
- DirectX 9
DirectX 9 is Microsoft’s graphics API used as the default rendering backend on Windows. It provides a hardware-accelerated path without requiring additional OpenGL drivers.
- Metal
Metal is Apple’s high-performance graphics API, used as the only rendering backend on macOS and iOS. OpenGL ES is not available on Apple platforms.
- LUA
LUA is a powerful, efficient, lightweight, embeddable scripting language. It supports procedural programming, object-oriented programming, functional programming, data-driven programming, and data description. Although the main feature of this engine is to have LUA script as main way to develop, is not mandatory. You can, if you want, develop in pure C++.
- LodePNG
LodePNG is a PNG image decoder and encoder, all in one, no dependency or linkage to zlib or libpng required. It’s made for C (ISO C90), and has a C++ wrapper with a more convenient interface on top.
- Box2D
Box2D is an open source C++ engine for simulating rigid bodies in 2D. it is available as plugin. The flag to use it in Android is
USE_BOX2D.- Liquidfun
Liquidfun is a 2D rigid-body and fluid simulation
C++library for games based upon Box2D . This version forces to drawback Box2D to 2.3.0. The Liquidfun is under the feature/liquid_fun branch.- Bullet 3D
Bullet 3D is an open source C++ engine for simulating rigid bodies in 3D. It is available as external plugin/module however it is not ready yet :/.
- LuaSQLite 3
Available as plugin, LuaSQLite 3 is a thin wrapper around the public domain SQLite3 database engine. The flag to use it in Android is
USE_LSQLITE3.- SQLite 3
SQLite is a C-language library that implements a small, fast, self-contained, high-reliability, full-featured, SQL database engine. It is part of the lsqlite3.
- AES Crypt
AES Crypt is a file encryption API that uses standard Advanced Encryption Standard (AES) to easily and securely encrypt files. Although is not mandatory, it is implicit added to the engine.
- PortAudio
PortAudio is a free, cross-platform, open-source, audio I/O library. It is the default audio backend on Windows and Linux. It supports WAV and OGG Vorbis (via
stb_vorbis).- AVFoundation
AVFoundation is Apple’s native multimedia framework, used as the default audio backend on macOS and iOS. It supports WAV, MP3, AAC/M4A, OGG Vorbis (via stb_vorbis), AIFF, and more.
- OpenSL ES
OpenSL ES is the native audio API for Android, replacing the legacy JNI audio backend. Use the flag
-DAUDIO=openslwhen building for Android.- PlusWindows
PlusWindows is a simple library for creating Owner-Drawn components on Windows . It is required only on Windows.
- STB True Type
Do parse, decode, and rasterize characters from true type fonts.
- MiniZ
Miniz is a lossless, high performance data compression library that implements the zlib (RFC 1950) and Deflate (RFC 1951) compressed data format specification standards.
- ImGui
An immediate graphical user interface for C ++ with minimal dependencies. It is mainly used for editor. it is available as plugin. Supported on Windows (DirectX 9), Linux (OpenGL ES), macOS, and iOS (Metal). The flag to use it is
-DUSE_IMGUI=1.- Audio
Each platform uses its own native audio backend:
PortAudioon Windows and Linux,OpenSL ESon Android, andAVFoundationon macOS and iOS. All backends share the same Lua API.
1.5. Dependency Chart
Here a table showing the dependencies between the main modules of the engine:
Component
Depends On
mini-mbm
core_mbm
plugin_helper
box2d
box2dLiquidFun
bullet3d
ImGui
tilemap
lsqlite3
The following dependency is true for Android only
Component
Depends On
mini-mbm
core_mbm
Important
Since Android 7.0, the system prevents apps from dynamically linking against non-NDK libraries.
Reference: https://developer.android.com/about/versions/nougat/android-7.0-changes.html#ndk
For this reason, it is specified the dependency libraries in Android build.
For example, if you want to use box2d in Android you must to include the flag -DUSE_BOX2D=1 when invoking Cmake.
More details in Android dependencies.
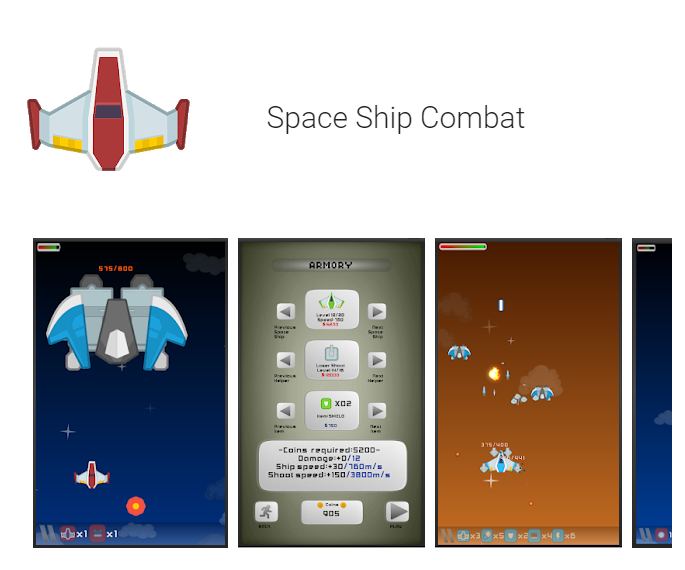
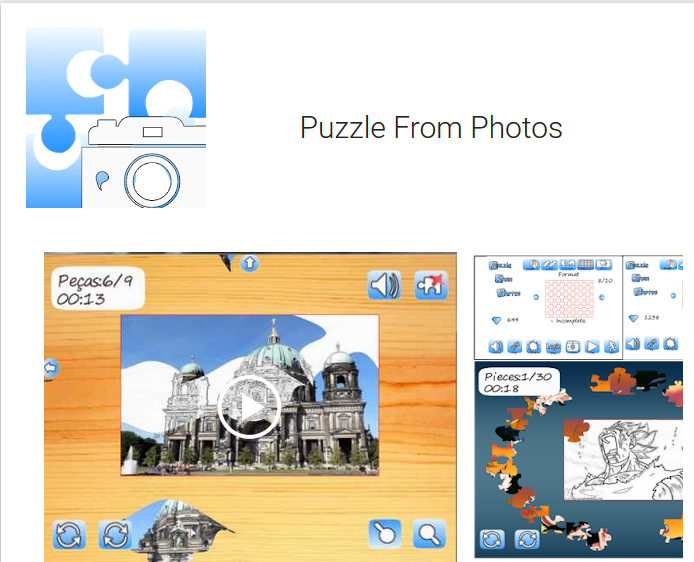
1.6. Games made with mbm
Here some games made using the engine:
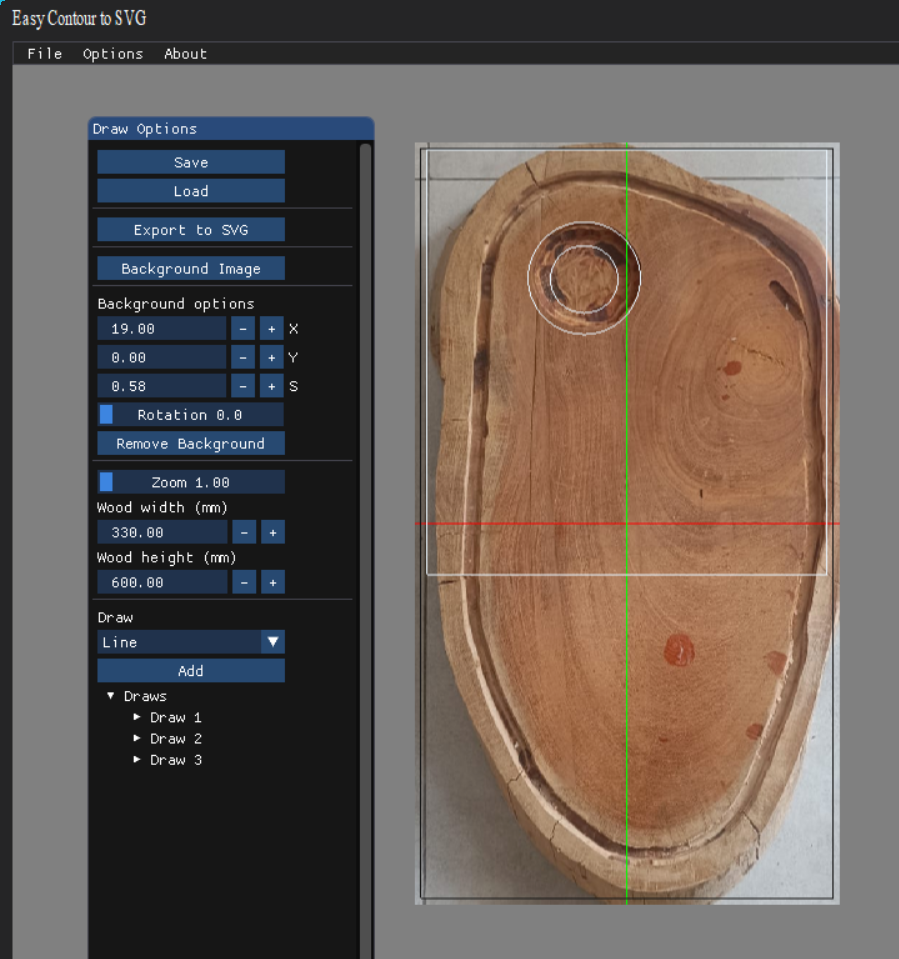
1.7. App made with mbm
Here some APP made using the engine:
1.8. Quick start guide
Here a quickly description how to build the engine selecting the environment.
The engine is available for Windows, Linux, Android, macOS, and iOS.
1.8.1. Getting the source code
Here the needed steps:
- Get git
Install git and clone the project:
git clone https://github.com/michelmorais/mini-mbm.git
- Download instead
You also can download the project:
1.8.2. Build for Windows
The Windows build uses a pre-configured Visual Studio 2022 solution — no CMake step needed.
Open mini-mbm.sln and build directly. The README covers prerequisites, solution structure, and first-run setup.
1.8.3. Binary for Windows
You can get the binaries for Windows here:
download stand alone mini-mbm-release-3.6.7z.
What’s in this folder? (Version 3.6)
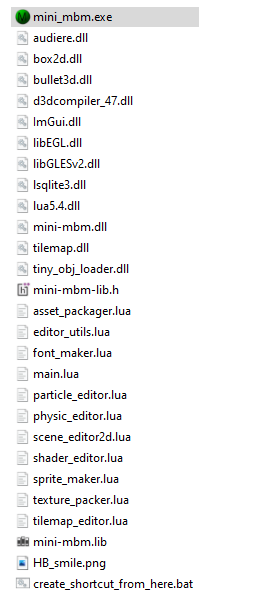
Figure 1.1 Content of mini-mbm-release-3.6.7z for Windows
download stand alone mini-mbm-release-4.2.7z.
What’s in this folder? (Version 4.2)
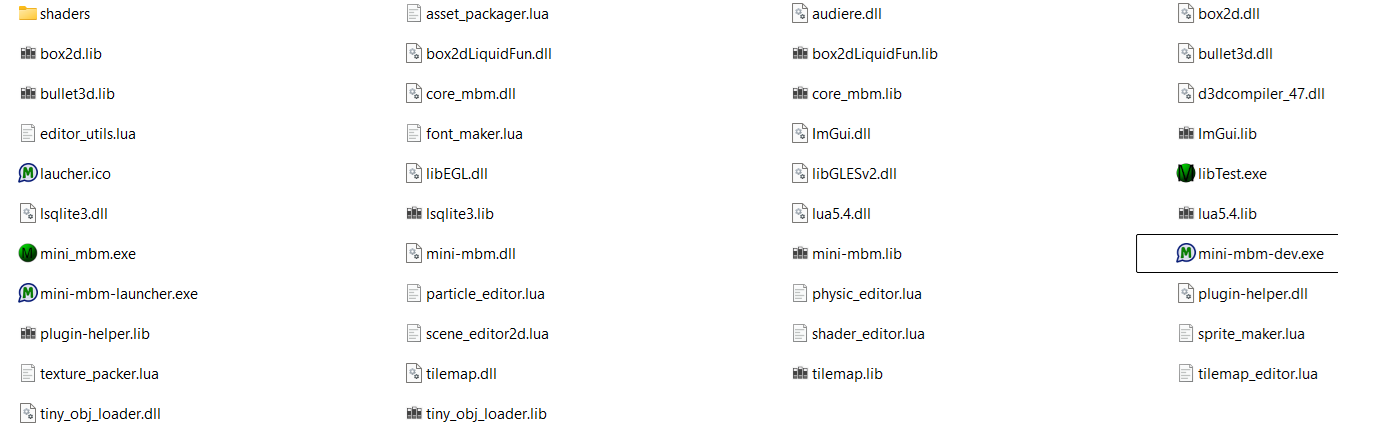
Figure 1.2 Content of mini-mbm-release-4.2.7z for Windows
Or the Dev tool Kit for Windows Windows here:
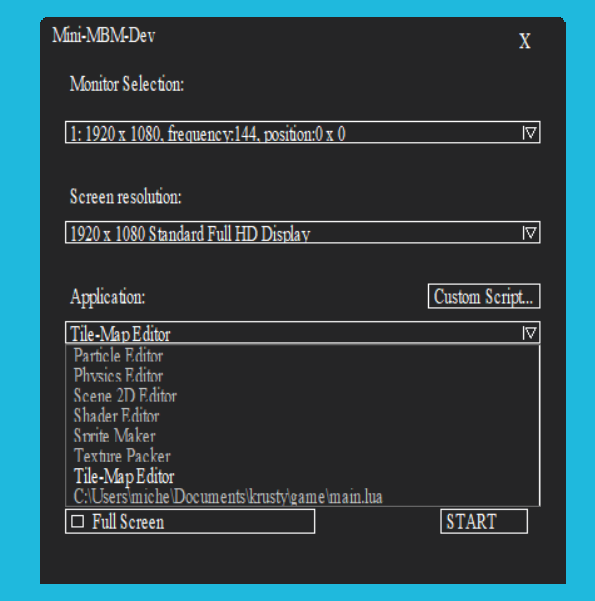
Figure 1.3 mini-mbm-dev-kit for Windows
1.8.4. Build for Linux
The Linux build uses CMake with GCC/Clang. The README covers prerequisites (including cmake, build-essential, libgles2-mesa-dev, and portaudio19-dev), cmake flags, and make commands.
1.8.5. Build for MacOS
The macOS build uses Metal for rendering and AVFoundation for audio — no OpenGL ES, XQuartz, or Vulkan SDK needed. The README covers Xcode Command Line Tools prerequisites, cmake flags, and make commands.
1.8.6. Build for iOS
The iOS build uses Metal for rendering and AVFoundation for audio. All plugins are compiled as static libraries.
Two CMake generators are supported: make (unsigned binary, for CI) and -G Xcode (for device deployment and App Store).
The README covers prerequisites, cmake flags, and signing setup.
1.8.7. Build for Android
The Android build requires NDK r29 and uses OpenSL ES for audio. Due to Android 7.0+ dynamic linking restrictions, plugins (box2d, ImGui, lsqlite3, etc.) must be declared explicitly as CMake flags. The README covers NDK setup, cmake/make commands, and Android Studio integration.
1.8.8. Binary for Android
Even though you have some doubt? Here the project using Android Studio version 3.5.3 :
Or just would like to take a look on the apk generated?
download example apk for Android
Or the latest libraries to get start at Android?
binary libs for Android version 3.2.a
It contains the core of engine and LUA script support to start to develop on Android:


Note
flags.Important
Since Android 7.0, the system prevents apps from dynamically linking against non-NDK libraries.
https://developer.android.com/about/versions/nougat/android-7.0-changes.html#ndk
For this reason, you have to specify which libraries are you going to use together (box2d, ImGui, sqlite, etc ).
We do this through the flag USE when invoking Cmake: -USE_LSQLITE3=1, -DUSE_IMGUI=1, -DUSE_BOX2D=1 etc…
On Android it is possible to list the files in the cache folder through command line using adb from folder ~/Android/Sdk/platform-tools:
./adb exec-out run-as com.mini.mbm.yourcompany ls -R /data/data/com.mini.mbm.yourcompany
More information at https://developer.android.com/studio/command-line/adb
Warning
known issue.
The current implementation does not load sound stream from cache folder in Android. This is a TODO.
You can leave the sound stream in asset folder (NOT inside of your database) then it will works.
1.8.9. Command line usage
Command line options:
mini-mbm
Version:3.1.b
Usage: mini-mbm [options]... [file_name.lua] or [--scene file_name.lua]...
    --help              display this help
-w, --width             set window's width
-h, --height            set window's height
-ew,--expectedwidth     set expected window's width
-eh,--expectedheight    set expected window's height
    --stretch           stretch to axis ('x', 'y', or 'xy') default is 'y'
    --nosplash          do not display logo
-x, --posx              set x window's position
-y, --posy              set y window's position
-s, --scene             set scene to load (e.g.: main.lua)
-n, --name              set window's name
-a, --addpath           add path to search file at run time
--noborder              new window without border

    note: to add a global variable use '='. example:
                            'myVarNumber=5.0' 'stringVar=someString'
    the variable will be stored as number when is number.
    otherwise the variable will be stored as string.
    use getGlobal function to get variable at lua script (see doc for more information)

    use space to separate arguments:
    usage example:
            mini-mbm --scene main.lua -w 800 -h 600
            mini-mbm -s main.lua -w 800 -h 600 'myVarNumber=5.0' 'stringVar=someString' --nosplash