Table of Contents
25. Editors
MBM has some LUA based editors. This page intent to show each of them and its main functionality.
Those editor is meant to facilitate to build games/application.
We are talking about sprite, mesh, particle, font/text, shader, etc…
25.1. File Format
All editors can save the current edit status, however, the main objective is to create a final binary file that the engine is able to read in the optimized way.
Here the expected format for each editor:
Editor |
Editor Format |
Binary Format |
Type mesh |
|---|---|---|---|
Sprite Maker |
|
|
|
Font Maker |
|
|
|
Particle Maker |
|
|
25.2. Sprite Maker
Sprite Maker meant to make animations based on image(s).
One sprite might have one or more images, one or more animations, one or more frames.
The animations are based on frames interpolation and also might be repeated (you might want to make some effect on it).
The application is written in LUA script and the file name is sprite_maker.lua.
It is dependent on ImGui Plugin and EDITOR_FEATURES flag of compilation in the engine.
25.2.1. First Steps With Sprite Maker Editor
For this example it will be used those six images:

Open Sprite Maker indicating the script and typing the desired width and height:
mini-mbm sprite_maker.lua -w 1280 -h 800 --nosplash
Note
You might need to specify the whole path if it is not in your environment.
From menu insert image and choose All images needed:
From menu in Image(s) Selector select All Images:
From menu in Add Frame click in Add all and one frame for each image will be added:
From menu Animations click in Edit Animations and choose the frames, type, interval and time between frames:
Also it is possible to create frame from sprite sheet. This allows to crop a lot of frames from one image:
Now a sprite could be loaded using sprite.
25.3. Font Maker
Font Maker or should be better called Font Parser, is a way to create font from truetype font.
It is a simple editor which import and parse truetype font and allow to make some desired animations and then, save as binary file to be used in the engine.
The application is written in LUA script and the file name is font_maker.lua.
It is dependent on ImGui Plugin and EDITOR_FEATURES flag of compilation in the engine.
25.3.1. First Steps With Font Maker Editor
For this example it will be used the Carlito-Regular truetype font.
From command line type:
mini-mbm --scene font_maker.lua -w 1280 -h 800 --nosplash
Note
You might need to specify the whole path if it is not in your environment.
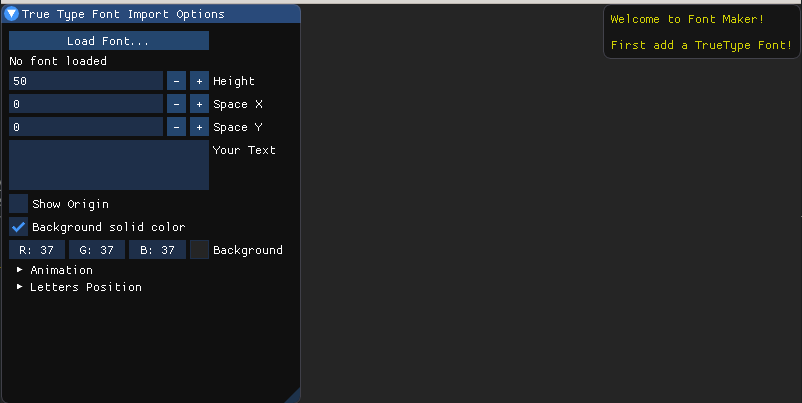
From menu, choose the desired height of font (default is 50) and click in Load Font:
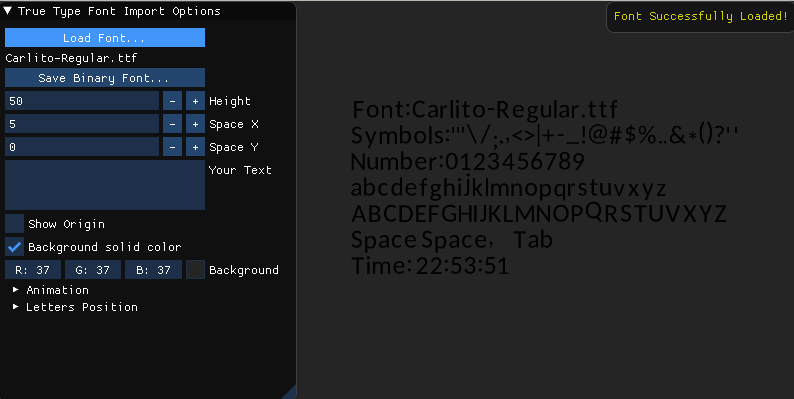
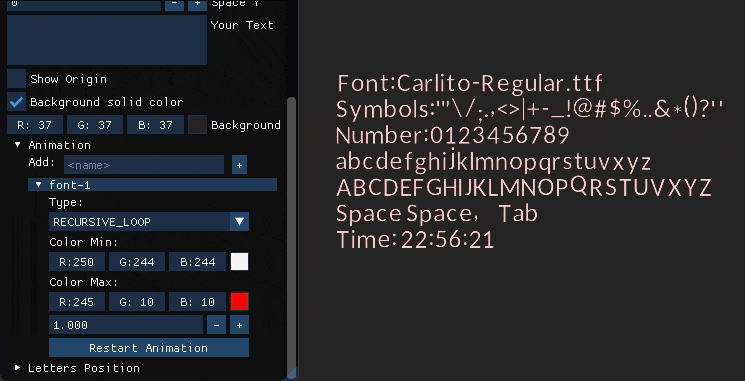
Change/add animation, change positions, space, size, colors as desired and click in Save Binary Font:
Note
For each font size, a png file will be created. The png is the image itself as a sprite sheet and the binary file contains the information (animation, shaders, position etc.) to be used in the engine. These two files are required.
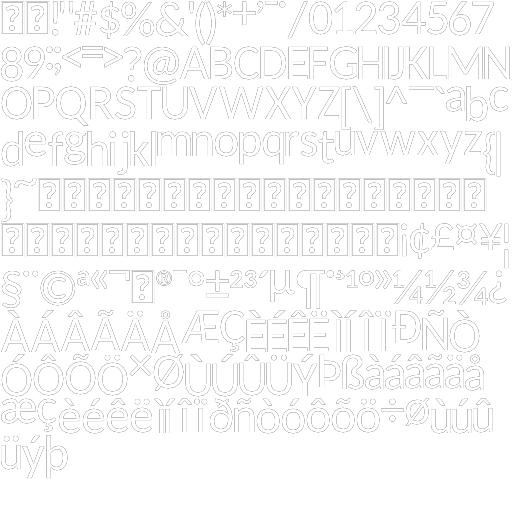
Figure 25.1 Carlito-Regular png generated
download Carlito-Regular-50.png.
Now a font could be loaded using font.
25.4. Particle Editor
Particle Editor is a editor to create particle behavior.
One particle might have one image (texture) and one or more stage(s) (like animations but with extra control).
The shader is specific for particle (see shader particle detail ).
The application is written in LUA script and the file name is particle_editor.lua.
It is dependent on ImGui Plugin and EDITOR_FEATURES flag of compilation in the engine.
25.4.1. First Steps With Particle Editor
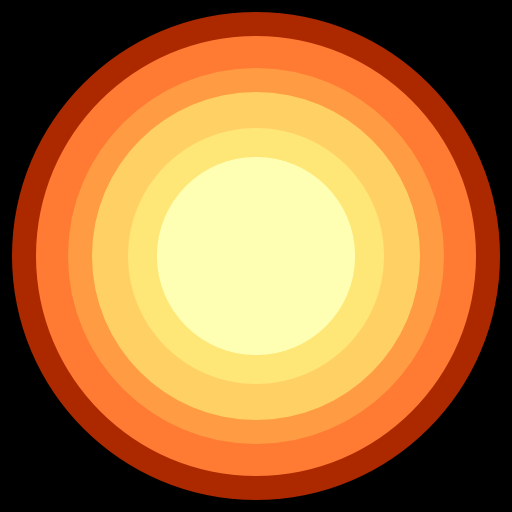
For this example, we will use the folowing texture:

From command line type:
mini-mbm --scene particle_editor.lua -w 800 -h 600 --nosplash
Note
You might need to specify the whole path if it is not in your environment.
From menu, choose the File select New Particle
From menu, choose the Image select Add Image and set particle_flame.png.
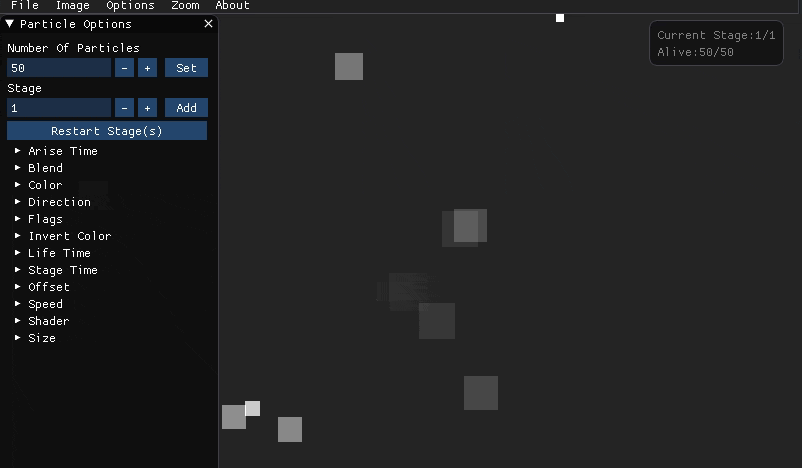
Change the Number of particle, Direction and other options from Particle Options as desired.

From menu, choose the File select Save Particle and select the file name.
Now a particle could be loaded using particle.
25.5. Physic Editor
Physic Editor is a simple editor to be able to edit physics of sprite or mesh.
The editor is dependent on ImGui Plugin and EDITOR_FEATURES flag of compilation in the engine.
This editor is TODO for 3D objects:
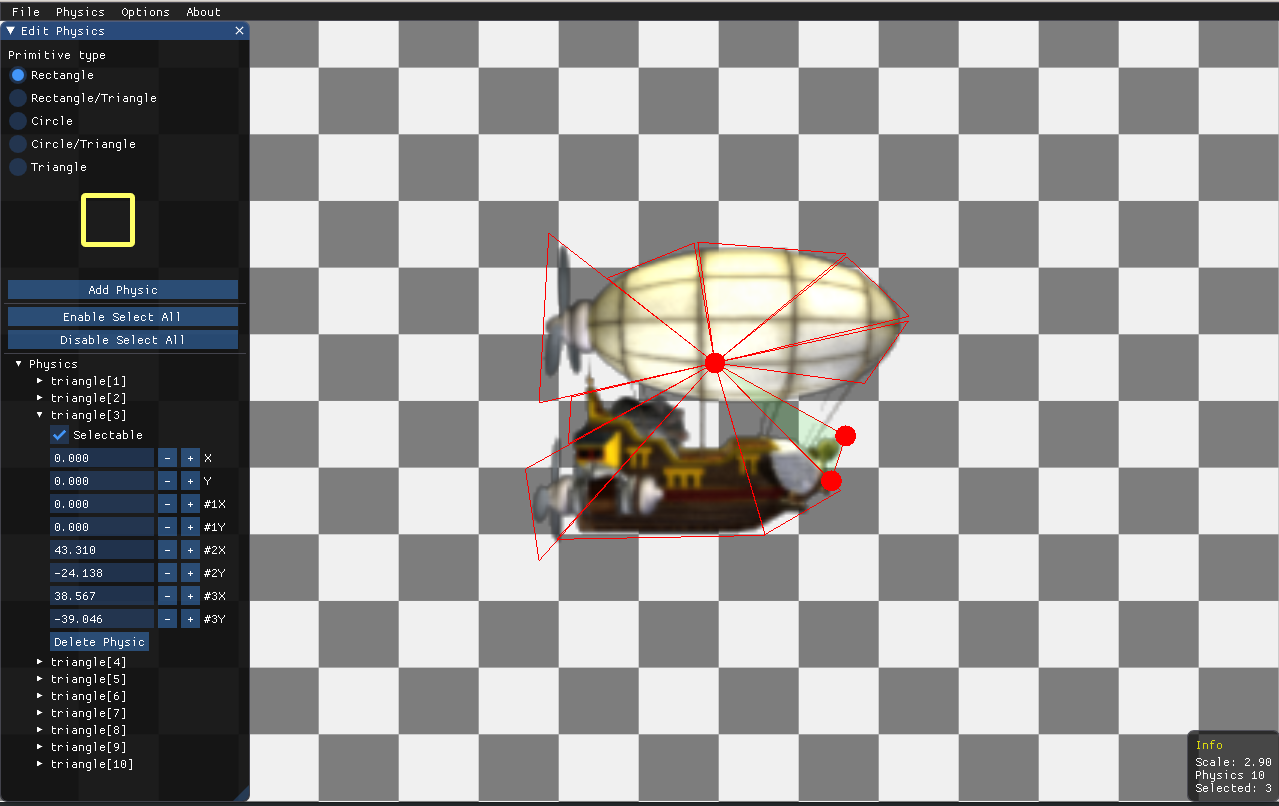
Simple load a sprite or mesh and edit, then save it.
To run it from command line type:
mini-mbm --scene physic_editor.lua -w 800 -h 600 --nosplash
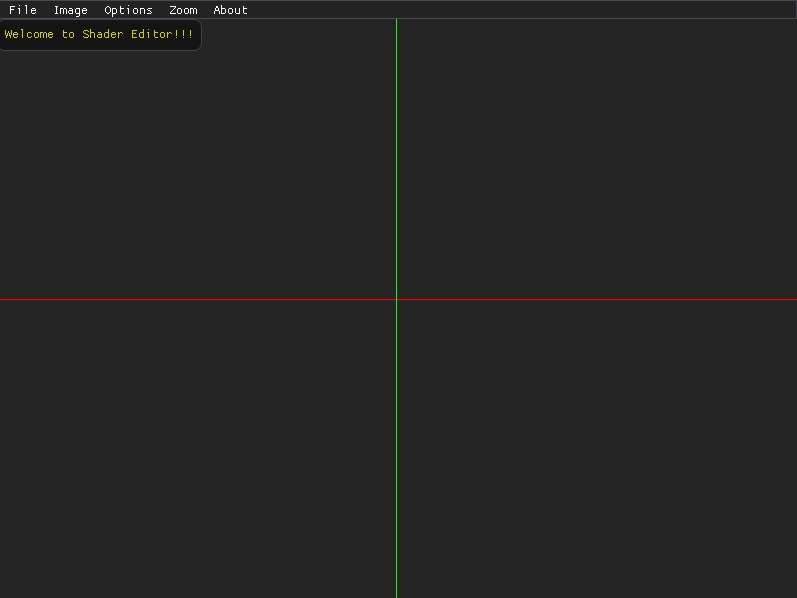
25.6. Shader Editor
Shader Editor is a editor to change/add shader effect. Also is possible to add or change animation .
This editor support all binaries types of mesh created by the engine.
The application is written in LUA script and the file name is shader_editor.lua.
It is dependent on ImGui Plugin and EDITOR_FEATURES flag of compilation in the engine.
25.6.1. First Steps With Shader Editor
For this example, create a sprite using sprite maker with the folowing texture:

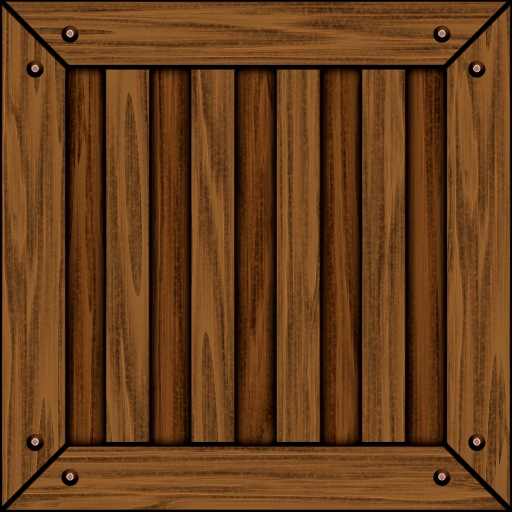
From command line type:
mini-mbm --scene shader_editor.lua -w 800 -h 600 --nosplash
Note
You might need to specify the whole path if it is not in your environment.
From menu, choose the File select Open Mesh and select the sprite created.
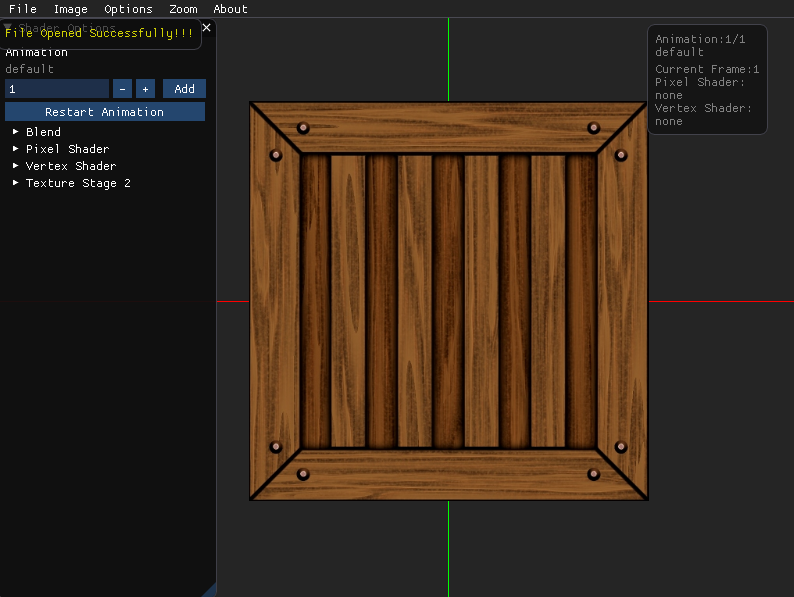
From menu Shader Options select Pixel Shader -> bloom.ps and change the type for RECURSIVE_LOOP.
Change others parameters as desired.

From menu, choose the File select Save Mesh and select the file name.
Now the mesh will have the shader configured in the binary file. Whenever be load, automatically will be set the shader with the configurations set in the editor.
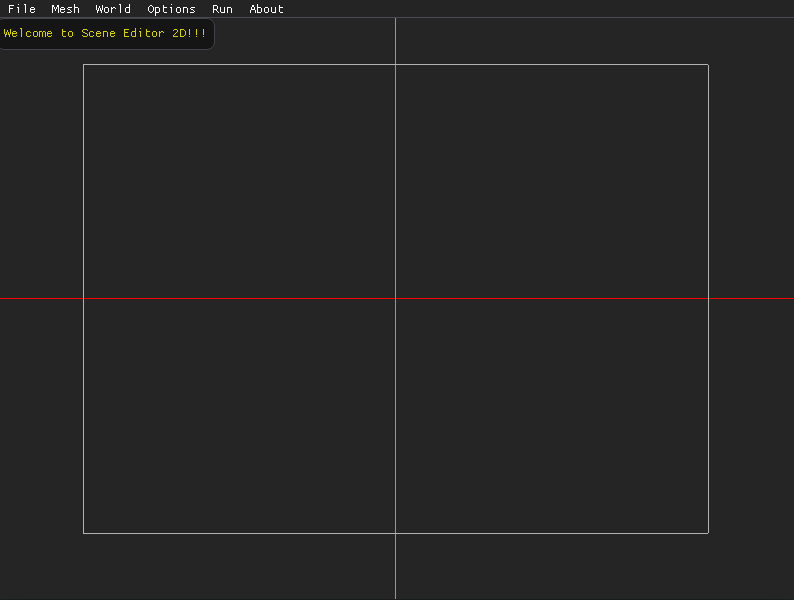
25.7. Scene Editor
The Scene Editor is a simple 2D editor, meant to create scene in visual mode.
This editor support all binaries types of mesh created by the engine.
The application is written in LUA script and the file name is scene_editor2d.lua.
It is dependent on ImGui Plugin, Box 2d and EDITOR_FEATURES flag of compilation in the engine.
25.7.1. First Steps With Scene Editor
For this example, create a sprite using sprite maker with the folowing texture:
Then, after that, from command line type:
mini-mbm --scene scene_editor2d.lua -w 800 -h 600 --nosplash
Note
You might need to specify the whole path if it is not in your environment.
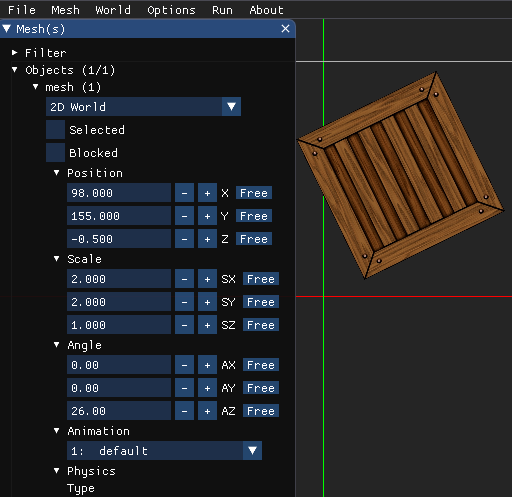
From menu, choose the Mesh select Added Mesh and select the sprite created.
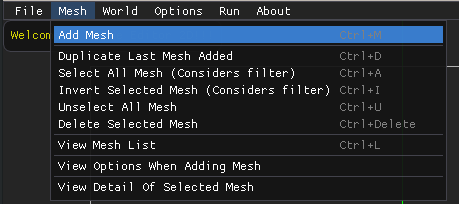
Edit the position, scale, rotation or physics as you wish…
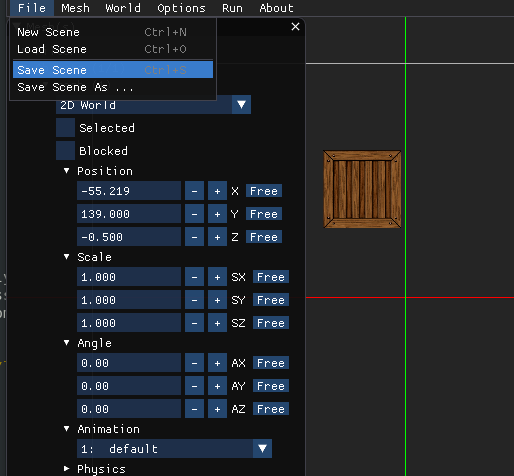
From menu File select Save Scene -> my_scene.lua.
Now you have the scene with all mesh(es) added.
You can use the scene as point of start and do the necessary logic for your game.
Here an example using the scene:
tScene = require "my_scene"

function onInitScene()
   mbm.setColor(1,1,1)
   tScene:load()
end

function onTouchDown(key,x,y)
   -- we are sure that box.spt exists in the file my_scene.lua
   local tMesh = tScene:addMesh('box.spt')
   tMesh.x, tMesh.y = mbm.to2dw(x,y)
end

function onLoop(delta)
   -- your logic here
end
Remarks
It was added only one sprite using the editor.
Therefore, when
tScene:load()is called, only one sprite is added to the scene.The others sprites are dynamic added as you can see in the code.
Besides the
tMeshis local, the scene will hold the instance in the tabletScene.tMeshesLoaded. That is why the object is not destroyed by gc from LUA.When is added an object using
tScene:addMesh, all configuration (position, scale, etc) are applied to the object added.
25.8. Asset Packager
The Asset Packager create asset from any type of files like image file, script file, music file, etc.
The idea is to be able to make your assets in one unique file as mentioned before. Some people or company want to make the assets not so easy to access for many reasons. This editor might help on that.
The application is written in LUA script and the file name is asset_packager.lua.
It is dependent on ImGui Plugin and SQLite module.
25.8.1. First Steps With Packager
From command line type:
mini-mbm --scene asset_packager.lua -w 800 -h 600 --nosplash
Note
You might need to specify the whole path if it is not in your environment.
From menu File select New Asset (from folder) and add it.
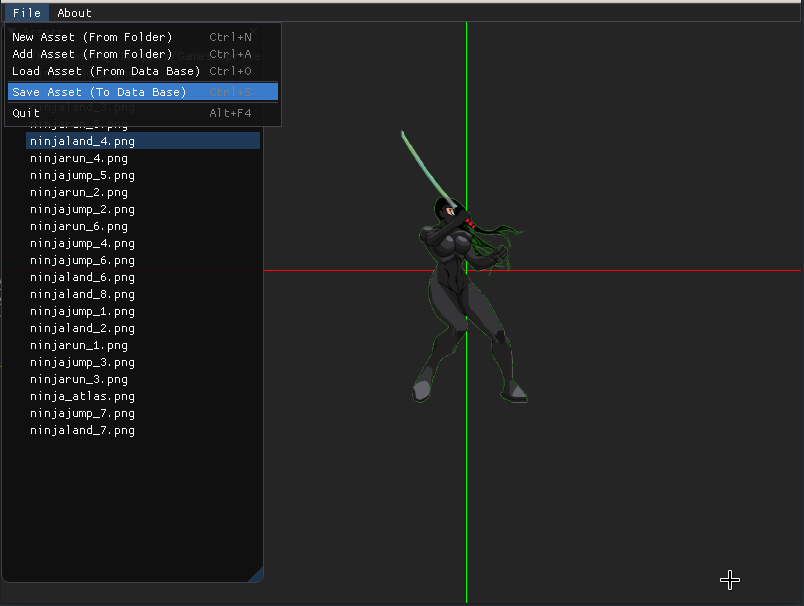
Then from menu File select Save asset (to Database) and it is done!
You can find more information about how to use your asset at SQLite module topic.
25.9. Tile Map Editor
Tile Map Editor is a 2D level editor meant to help you develop the content of your game by little bricks (tiles).
One tile can be easily mapped through the world (in the size that you need) forming a 2D map.
It is possible create layers and add some information as physics or objects/paths.
The final map is an unique file + images ready to be used in the engine.
The editor is dependent on ImGui Plugin and EDITOR_FEATURES flag of compilation in the engine.
25.9.1. First Steps With Tile Map Editor
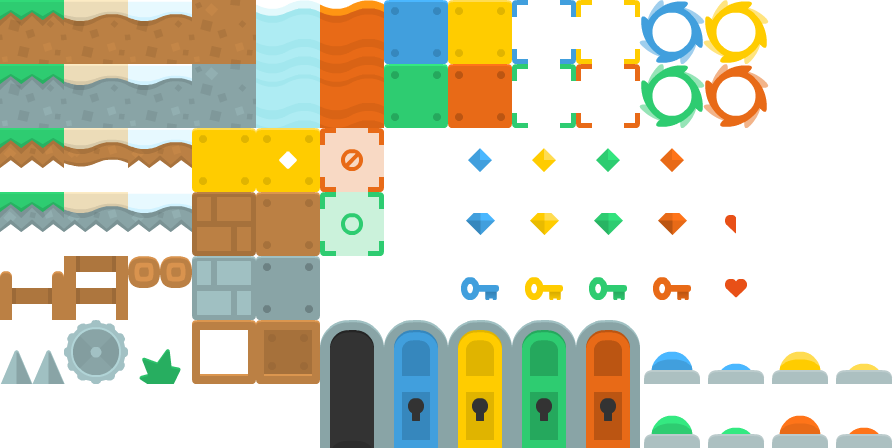
For this example it will be used a tileset from kenney :
Open Tile Map indicating the script and typing the desired width and height:
mini-mbm tilemap_editor.lua -w 1280 -h 800 --nosplash
Note
You might need to specify the whole path if it is not in your environment.
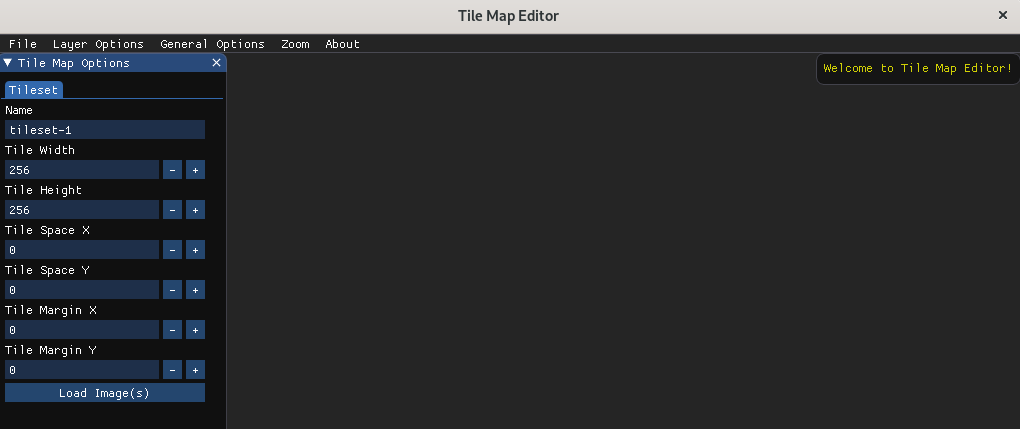
From Tile Map Options menu, click at Load Image(s) and select the tileset.
Adjust the size of tile. In this example the tile size is 64x64 Pixel with no margin/ space.
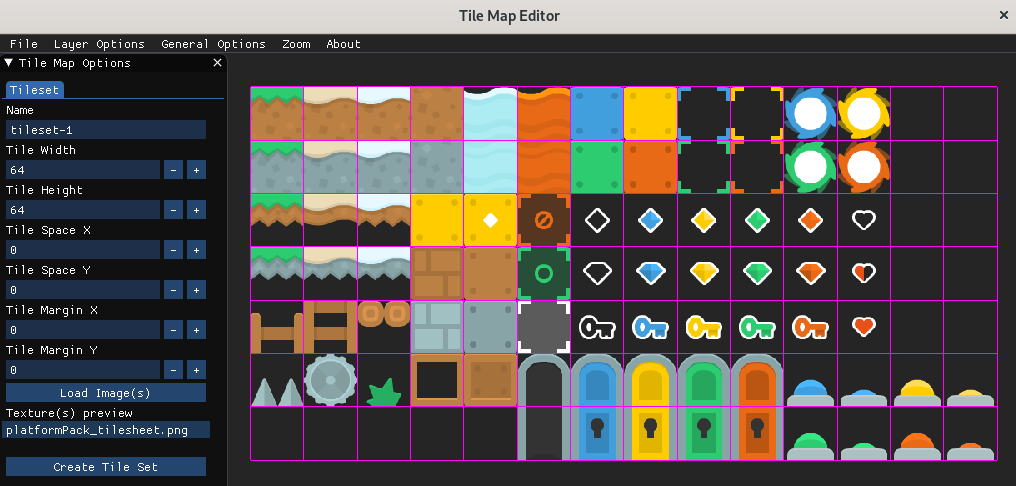
Click in create button and got to the layer tab.
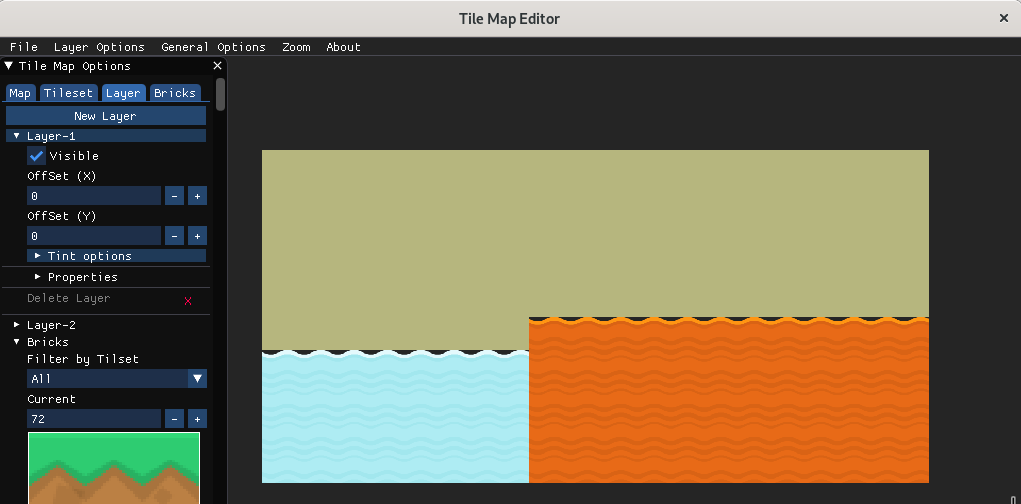
Create a new layer and select the bricks (tiles) to make a layer like this:
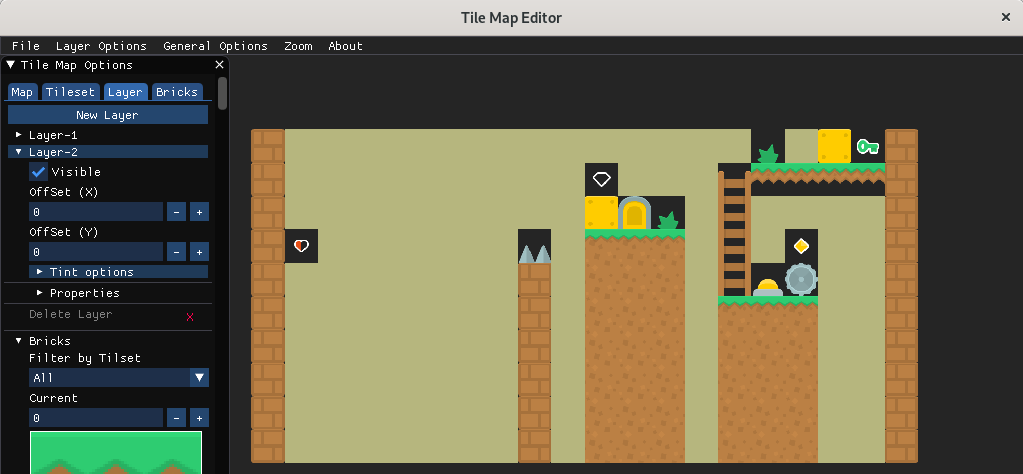
Then, create a new layer and try to do something like this:
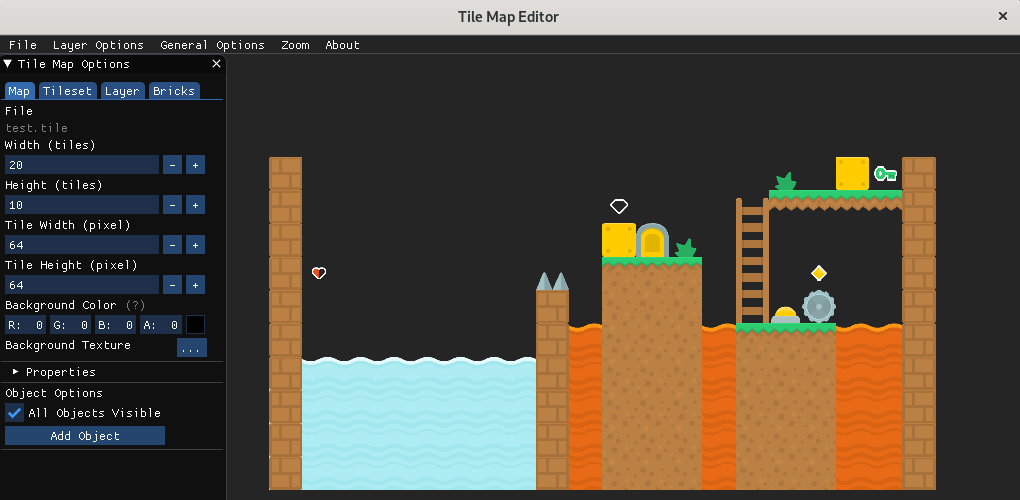
The final result should be something like this:
Save it and now the tilemap could be loaded using tile.
25.10. Texture Packer Editor
Texture Packer Editor is a 2D level editor meant to merge textures in a single file (sprite sheet)
The editor is dependent on ImGui Plugin and EDITOR_FEATURES flag of compilation in the engine.
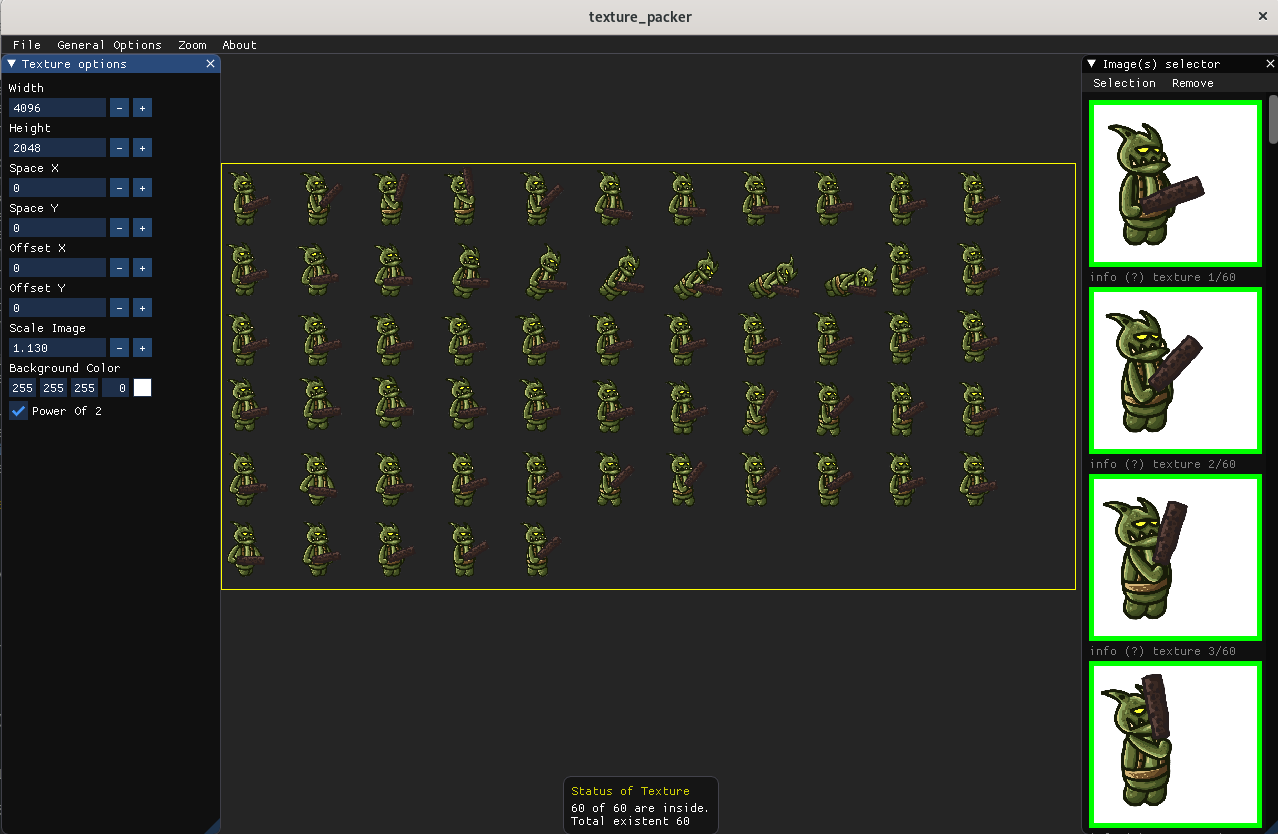
This is a simple editor and the following image shows the editor making a single texture from severals images:
After that you just have to specify the file name to save the final image.